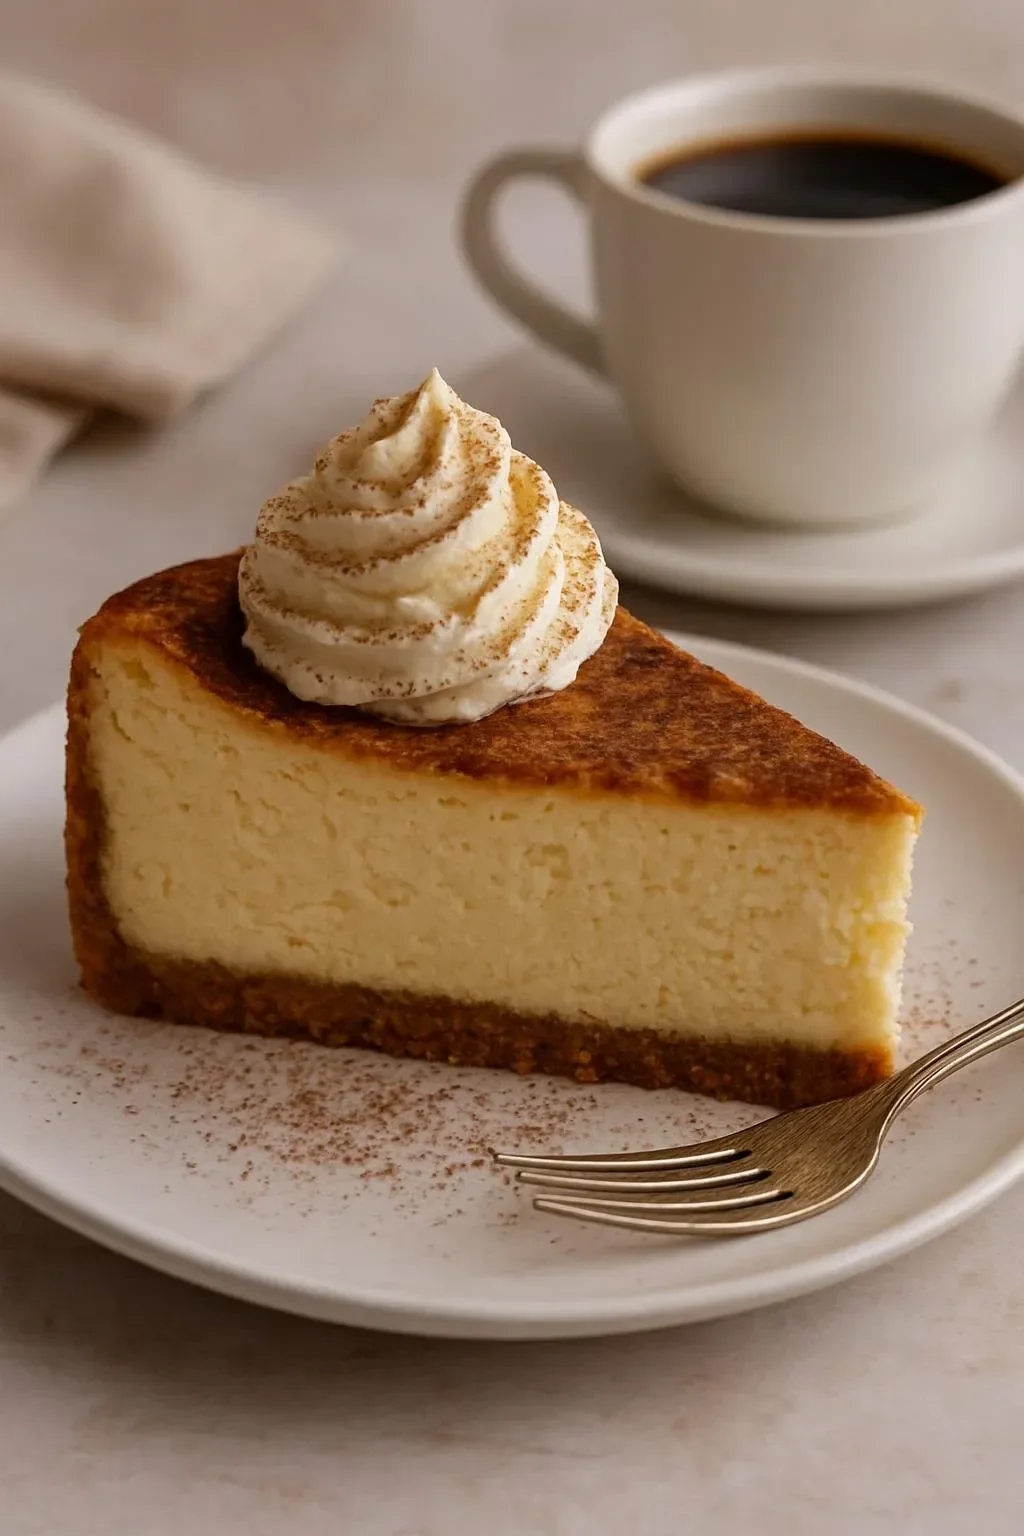
Vanilla Bean Brown Butter Cheesecake is a rich, creamy dessert that blends nutty brown butter with real vanilla bean flavor.
- Introduction to Vanilla Bean Brown Butter Cheesecake
- Why make Vanilla Bean Brown Butter Cheesecake
- How to make Vanilla Bean Brown Butter Cheesecake
- Ingredients for Vanilla Bean Brown Butter Cheesecake
- Directions for Vanilla Bean Brown Butter Cheesecake
- How to serve Vanilla Bean Brown Butter Cheesecake
- How to store Vanilla Bean Brown Butter Cheesecake
- Tips to make Vanilla Bean Brown Butter Cheesecake
- Variation for Vanilla Bean Brown Butter Cheesecake
- FAQs for Vanilla Bean Brown Butter Cheesecake
Introduction to Vanilla Bean Brown Butter Cheesecake
Vanilla Bean Brown Butter Cheesecake brings a warm, toasty note to a classic cheesecake.
This dessert is smooth, silky, and has a crisp, buttery crust for great contrast.
For a different sweet finish after dinner, try a lighter chocolate or bean-based treat like black bean brownies for guests who want something different.
Why make Vanilla Bean Brown Butter Cheesecake
Make this cheesecake when you want a show-stopping dessert that still feels homey.
The brown butter adds depth, and the vanilla bean paste gives a strong, clean vanilla taste.
It fits special days or a cozy weekend when you want a rich dessert.
How to make Vanilla Bean Brown Butter Cheesecake
Make the crust first, then prepare the filling, bake gently, and chill well.
Work in simple steps and keep ingredients at room temperature for a smooth mix.
Use a springform pan so you can release the cake cleanly when it is cool.
Ingredients for Vanilla Bean Brown Butter Cheesecake
- 1 ½ cups graham cracker crumbs
- ½ cup unsalted butter, browned
- 2 cups cream cheese, softened
- 1 cup granulated sugar
- 3 large eggs
- 1 tablespoon vanilla bean paste
- 1 teaspoon vanilla extract
- 1 cup sour cream
- ¼ cup all-purpose flour
Directions for Vanilla Bean Brown Butter Cheesecake
-
- Preheat the oven to 325°F (163°C). Grease a 9-inch springform pan.
-
- In a bowl, mix graham cracker crumbs with the browned butter until well combined. Press mixture into the bottom of the prepared springform pan.
-
- In a large mixing bowl, beat the cream cheese and sugar until smooth.
-
- Add eggs one at a time, mixing well after each addition. Stir in the vanilla bean paste, vanilla extract, sour cream, and flour until just combined.
-
- Pour the cream cheese mixture over the crust in the springform pan.
-
- Bake for about 50-60 minutes or until the center is set but still slightly jiggly.
-
- Turn off the oven and let the cheesecake cool inside for 1 hour.
-
- Remove from the oven and chill in the refrigerator for at least 4 hours or overnight before serving.
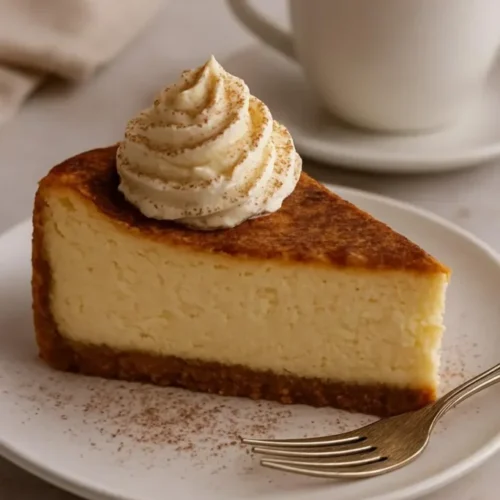
How to serve Vanilla Bean Brown Butter Cheesecake
Serve chilled slices at room temperature for best flavor and texture.
Top with simple choices like fresh berries, a light caramel, or a dusting of powdered sugar.
Keep slices neat by wiping the knife between cuts.
How to store Vanilla Bean Brown Butter Cheesecake
- Cover the cheesecake tightly with plastic wrap or use an airtight container.
- Refrigerate for up to 5 days for best freshness.
- For longer storage, freeze individual slices wrapped well for up to 2 months.
Tips to make Vanilla Bean Brown Butter Cheesecake
- Bring cream cheese and eggs to room temperature before mixing to avoid lumps.
- Brown the butter slowly and watch it closely so it does not burn. If you want more browning tips, see a savory recipe that uses the same method at cod with brown butter and pine nuts.
- Do not overmix after adding the eggs — mix just until smooth to keep the cake tender.
Variation for Vanilla Bean Brown Butter Cheesecake
- Add a swirl of caramel or chocolate on top before baking for a marbled look.
- Fold in toasted nuts or chocolate chips for texture.
- For a totally different diet style, consider a plant-based twist like the vegan peanut butter cup cheesecakes as inspiration.
FAQs for Vanilla Bean Brown Butter Cheesecake
Q: Can I use vanilla extract instead of vanilla bean paste?
A: Yes. Use high-quality vanilla extract for flavor, but vanilla bean paste gives little flecks and a stronger vanilla note.
Q: How do I know when the cheesecake is done?
A: The edges should be set and the center slightly jiggly. It firms as it cools.
Q: Where can I buy vanilla bean paste?
A: You can buy vanilla bean paste online. Buy it here.
Q: Can I skip browning the butter?
A: Yes, you can use melted butter. Browning adds a nutty flavor that makes the crust special.
Vanilla Bean Brown Butter Cheesecake
Ingredients
For the crust
- 1.5 cups graham cracker crumbs
- 0.5 cups unsalted butter, browned Browned for extra flavor
For the filling
- 2 cups cream cheese, softened Bring to room temperature for easy mixing
- 1 cups granulated sugar
- 3 large eggs Bring to room temperature
- 1 tablespoon vanilla bean paste For a strong vanilla flavor
- 1 teaspoon vanilla extract Can substitute for vanilla bean paste
- 1 cups sour cream
- 0.25 cups all-purpose flour
Instructions
Preparation
- Preheat the oven to 325°F (163°C). Grease a 9-inch springform pan.
- In a bowl, mix graham cracker crumbs with the browned butter until well combined. Press mixture into the bottom of the prepared springform pan.
- In a large mixing bowl, beat the cream cheese and sugar until smooth.
- Add eggs one at a time, mixing well after each addition. Stir in the vanilla bean paste, vanilla extract, sour cream, and flour until just combined.
- Pour the cream cheese mixture over the crust in the springform pan.
Baking
- Bake for about 50-60 minutes or until the center is set but still slightly jiggly.
- Turn off the oven and let the cheesecake cool inside for 1 hour.
- Remove from the oven and chill in the refrigerator for at least 4 hours or overnight before serving.