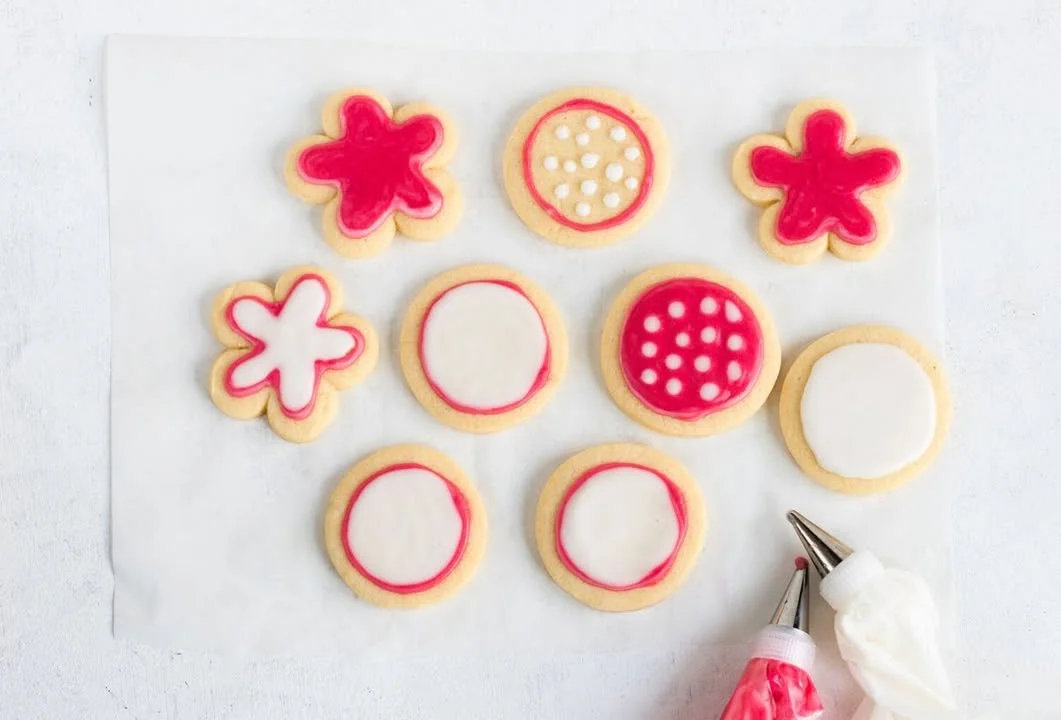
Sugar cookie icing is a delightful addition that enhances your sugar cookies. This simple recipe creates a smooth and sweet glaze perfect for decorating.
Why Make This Sugar Cookie Icing
Making your own sugar cookie icing allows you to customize flavors and colors for any occasion. It’s quick to whip up and requires minimal ingredients. Plus, homemade icing tastes better than store-bought options!
How to Make Sugar Cookie Icing
Creating your sugar cookie icing is easy and fun. Follow these simple steps to prepare the icing for your cookies.
Ingredients:
- 2 cups powdered sugar
- 2 tablespoons milk or water
- 1 tablespoon light corn syrup
- 1/2 teaspoon vanilla extract
- Food coloring (optional)
Directions:
- In a mixing bowl, combine powdered sugar, milk (or water), corn syrup, and vanilla extract.
- Mix until smooth and well combined.
- If desired, divide the icing into separate bowls and tint with food coloring.
- Use immediately to decorate cookies.
- Allow the icing to dry completely before storing or stacking the decorated cookies.
How to Serve Sugar Cookie Icing
Once your sugar cookie icing is ready, drizzle or spread it on your cookies. You can use a piping bag for detailed designs, or simply a knife for a smooth finish. Enjoy your beautifully decorated cookies at parties or as gifts!
How to Store Sugar Cookie Icing
If you have leftover icing, store it in an airtight container. Keep it in the refrigerator for up to one week. When ready to use it again, you may need to stir in a little milk or water to achieve the right consistency.
Tips to Make Sugar Cookie Icing
- Always sift the powdered sugar before mixing to prevent lumps.
- Adjust the thickness of the icing by changing the amount of milk or corn syrup.
- Use a toothpick for precise detailing in decorating.
Variation of Sugar Cookie Icing
Feel free to experiment with flavors by adding almond or lemon extract instead of vanilla. Different extracts can provide fun and unique tastes for your decorated cookies!
FAQs
Can I use regular sugar instead of powdered sugar for the icing?
No, powdered sugar is essential as it provides the smooth texture needed for icing.
How long will the icing last on my cookies?
Once dried, the icing can last on cookies for about a week if stored in a cool, dry place.
Where can I buy sugar cookie icing supplies?
You can buy it here on Amazon for your baking needs!
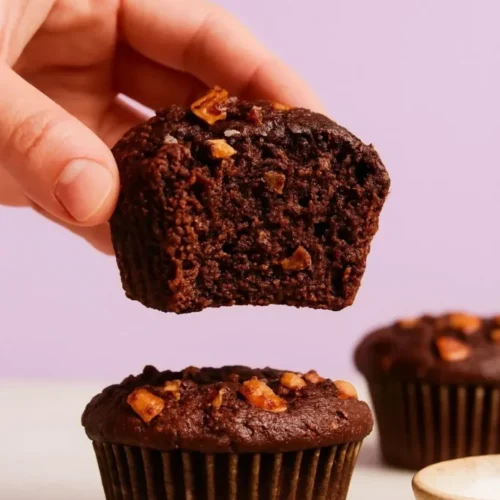
Salted Chocolate Banana Nut Muffins
Ingredients
Muffin Batter
- 2 ripe bananas, mashed Ensure they are very ripe for the best sweetness.
- 1 cup almond flour
- 1/2 cup coconut flour
- 1/2 cup maple syrup Adjust sweetness as desired.
- 1/4 cup melted coconut oil Can substitute with peanut butter.
- 1/2 tsp baking soda Use fresh for best rise.
- 1/2 tsp baking powder Use fresh for best rise.
- 1/4 tsp salt
- 1/2 cup walnuts, chopped Feel free to substitute with other nuts.
- 1/2 cup vegan chocolate chips Ensure they are gluten-free.
- to taste flaky sea salt for topping
Instructions
Preparation
- Preheat your oven to 350°F (175°C) and line a muffin tin with liners.
- In a large bowl, combine the mashed bananas, almond flour, coconut flour, maple syrup, melted coconut oil, baking soda, baking powder, and salt. Mix until well combined.
- Fold in the chopped walnuts and vegan chocolate chips.
- Divide the batter evenly among the muffin cups.
- Sprinkle a little flaky sea salt on top of each muffin.
Baking
- Bake for 18-20 minutes or until a toothpick comes out clean.
- Let cool for a few minutes before transferring to a wire rack.
- Enjoy your muffins!