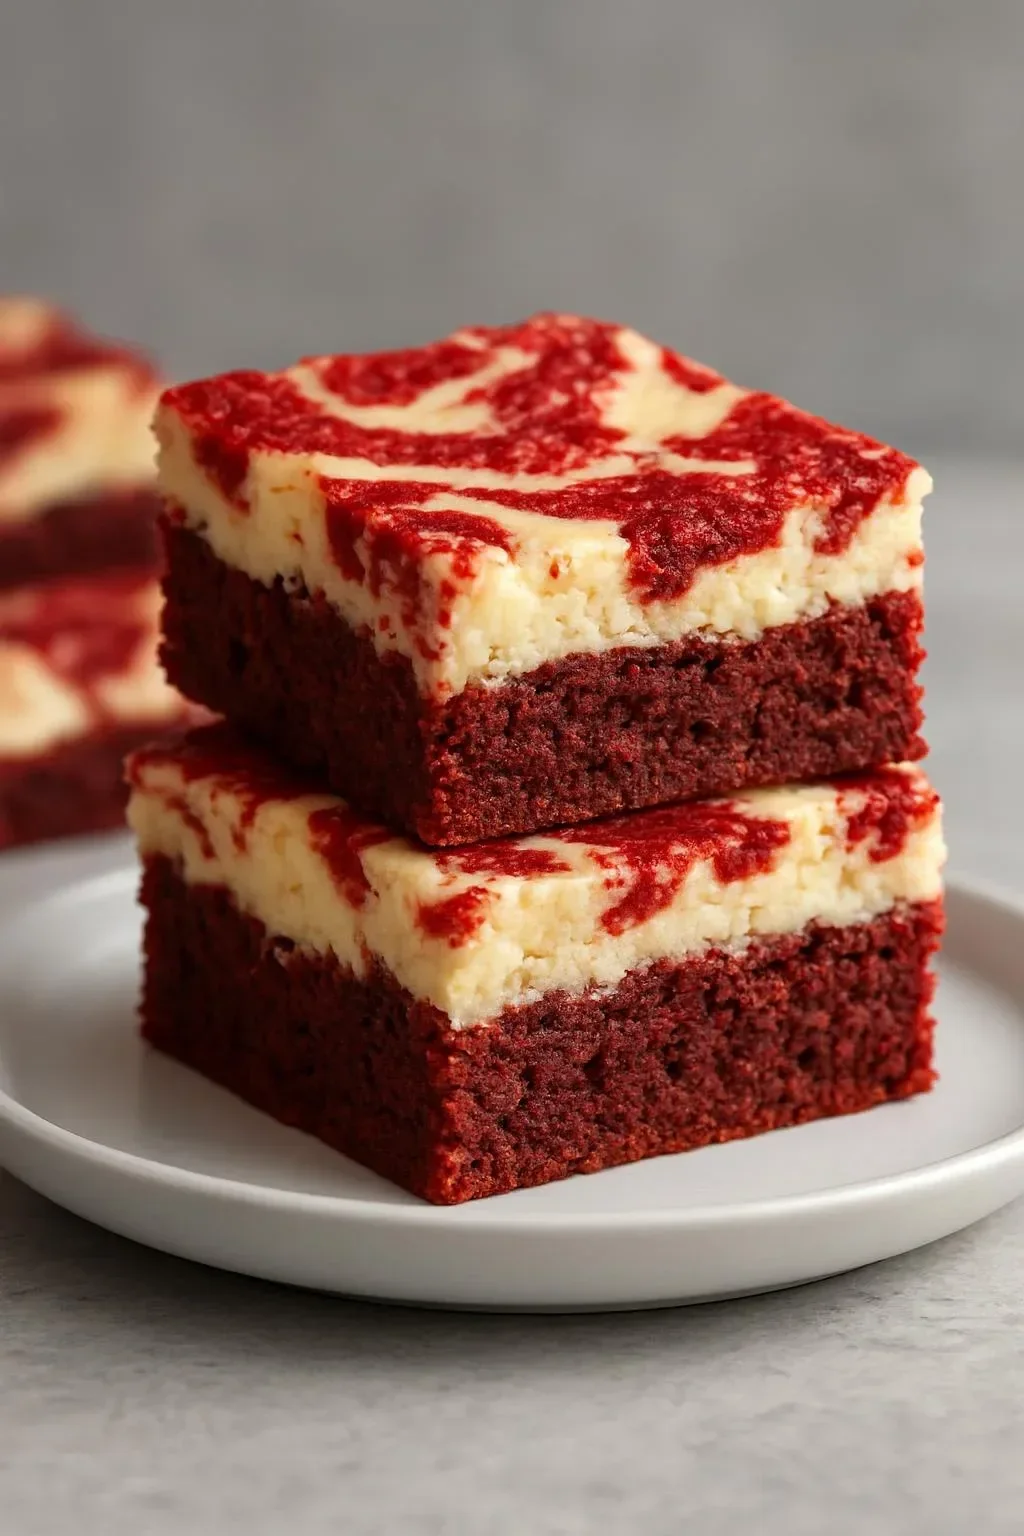
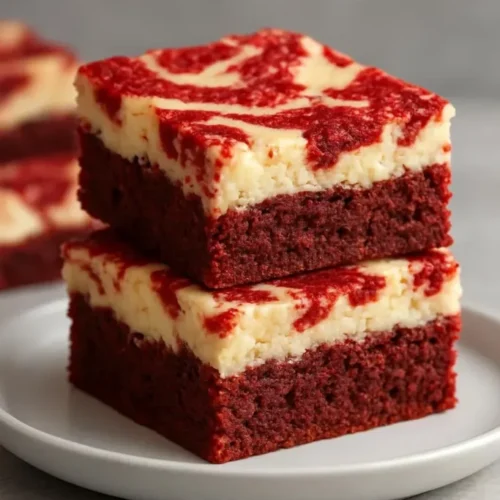
Red Velvet Cream Cheese Brownies are a moist, tangy treat that blends red velvet brownie and cream cheese swirl in every bite.
- introduction — Red Velvet Cream Cheese Brownies
- why make Red Velvet Cream Cheese Brownies
- How to make Red Velvet Cream Cheese Brownies
- Ingredients for Red Velvet Cream Cheese Brownies
- Directions for Red Velvet Cream Cheese Brownies
- how to serve Red Velvet Cream Cheese Brownies
- how to store Red Velvet Cream Cheese Brownies
- tips to make Red Velvet Cream Cheese Brownies
- variation for Red Velvet Cream Cheese Brownies
- FAQs for Red Velvet Cream Cheese Brownies
introduction — Red Velvet Cream Cheese Brownies
These Red Velvet Cream Cheese Brownies are simple to make and taste like a bakery at home.
They fit easy dessert nights and special treats alike.
If you want a simple savory dish to pair, try this creamy Italian-inspired white bean skillet meal for dinner.
why make Red Velvet Cream Cheese Brownies
Make these brownies when you want something chocolatey with a creamy twist.
They come together fast and please both kids and adults.
You only need common pantry ingredients and one cream cheese filling.
How to make Red Velvet Cream Cheese Brownies
Follow the steps below and work in simple stages for best results.
The swirl of cream cheese makes the brownies look pretty and taste rich.
- Preheat oven to 350°F (175°C) and grease a baking pan.
- Melt butter and mix in sugar until smooth.
- Stir in eggs, red food coloring, and vanilla until combined.
- Add flour, cocoa powder, and salt; mix until just combined.
- Beat cream cheese, powdered sugar, and an egg until smooth.
- Pour half the brownie batter into the prepared pan, spread the cream cheese mixture over it, then top with the remaining brownie batter.
- Swirl with a knife if desired.
- Bake 30–35 minutes or until a toothpick comes out clean.
- Cool, cut into squares, and enjoy!
For another simple comfort recipe idea while baking, check this creamy spinach and cheese stuffed chicken.
Ingredients for Red Velvet Cream Cheese Brownies
- 1 cup unsalted butter
- 1 cup sugar
- 2 large eggs
- 2 tablespoons red food coloring
- 1 teaspoon vanilla extract
- 1 1/2 cups all-purpose flour
- 1/2 teaspoon cocoa powder
- 1/4 teaspoon salt
- 8 ounces cream cheese, softened
- 1/2 cup powdered sugar
- 1 egg
Directions for Red Velvet Cream Cheese Brownies
- Preheat oven to 350°F (175°C) and grease a baking pan.
- In a bowl, melt butter and mix in sugar.
- Stir in eggs, food coloring, and vanilla until combined.
- Add flour, cocoa powder, and salt, mixing until just combined.
- In a separate bowl, beat cream cheese, powdered sugar, and egg until smooth.
- Pour half the brownie batter into the prepared pan, spread cream cheese mixture over, then top with remaining brownie batter.
- Swirl with a knife if desired.
- Bake for 30-35 minutes or until a toothpick comes out clean.
- Cool, cut into squares, and enjoy!
how to serve Red Velvet Cream Cheese Brownies
Serve these Red Velvet Cream Cheese Brownies slightly warm or at room temperature.
Top with a dusting of powdered sugar or a small dollop of whipped cream.
For a party, cut into small squares and arrange on a platter beside fruit.
You can also pair the brownies with quick bites like the easy 5-minute pepper jelly cream cheese bites for a sweet and savory spread.
how to store Red Velvet Cream Cheese Brownies
Store brownies in an airtight container at room temperature for up to 2 days.
For longer storage, keep them in the fridge for up to 5 days.
You can freeze squares in a single layer, then wrap and freeze up to 2 months.
tips to make Red Velvet Cream Cheese Brownies
- Use room-temperature eggs and cream cheese for smooth mixing.
- Do not overmix the batter; stop when flour is just combined.
- Check doneness at 30 minutes to avoid overbaking.
- Let brownies cool before cutting to keep clean edges.
variation for Red Velvet Cream Cheese Brownies
- Add white chocolate chips to the batter for extra sweetness.
- Use less red food coloring for a lighter color.
- Make mini muffins with the same batter for bite-sized treats.
FAQs for Red Velvet Cream Cheese Brownies
Q: Can I make these without food coloring?
A: Yes. The flavor will be the same but the color will be lighter and more cocoa-toned.
Q: Can I use low-fat cream cheese for Red Velvet Cream Cheese Brownies?
A: Yes, but the filling may be slightly less rich and a bit softer.
Q: What pan size is best for these brownies?
A: An 8×8 inch pan works well for thick brownies and even baking.
Q: Do I need any special tools to make Red Velvet Cream Cheese Brownies?
A: No special tools are required; basic bowls and a pan work fine. If you want a quality baking pan, Buy it here.
Q: Can I make the batter ahead for Red Velvet Cream Cheese Brownies?
A: You can mix batter and store in the fridge for a day, but bake within 24 hours for best texture.
Red Velvet Cream Cheese Brownies
Ingredients
Brownie Ingredients
- 1 cup unsalted butter Melted
- 1 cup sugar
- 2 large eggs Room temperature
- 2 tablespoons red food coloring
- 1 teaspoon vanilla extract
- 1.5 cups all-purpose flour
- 0.5 teaspoon cocoa powder
- 0.25 teaspoon salt
Cream Cheese Filling
- 8 ounces cream cheese Softened
- 0.5 cup powdered sugar
Instructions
Preparation
- Preheat oven to 350°F (175°C) and grease a baking pan.
- Melt butter and mix in sugar until smooth.
- Stir in eggs, food coloring, and vanilla until combined.
- Add flour, cocoa powder, and salt; mix until just combined.
Make Cream Cheese Filling
- In a separate bowl, beat cream cheese, powdered sugar, and egg until smooth.
Assemble and Bake
- Pour half the brownie batter into the prepared pan.
- Spread the cream cheese mixture over it, then top with the remaining brownie batter.
- Swirl with a knife if desired.
- Bake for 30-35 minutes or until a toothpick comes out clean.
- Cool, cut into squares, and enjoy!